Environments
Table of Contents
Overview
Using Jarvislabs, you can create one of the following instances:
- PyTorch
- FastAI
- Tensorflow
To simplify your workflow, we regularly install and update the latest versions of these software packages. As your projects grow more complex, you may want to create and maintain separate environments. You can create new environments using:
uv(recommended)- Conda
- venv (Python's built-in
python -m venv)
/homeAlways use an absolute path under /home for your environment. Files outside /home are lost when you pause and resume a container instance, while environments under /home persist.
jl CLI?If you run scripts with jl run, you usually don't need to create a venv manually. For directory targets, jl run creates a project-local .venv (inside the uploaded directory) using uv, with template packages like PyTorch already visible. For single-file targets, it uses a shared $HOME/.venv on the instance. Both persist across pause/resume because they live under /home.
Creating and Managing Environments
Creating a New Environment Using uv (Recommended)
uv is the preferred way to create Python environments on JarvisLabs. It can install the requested Python version, create the virtual environment, and install packages with one fast, consistent workflow.
Create the Environment
Create the environment under /home so it persists when you pause and resume the instance. Change python3.12 to the Python version your project requires.
uv venv /home/myenv --python=python3.12 --seed
Activate the Environment
source /home/myenv/bin/activate
Install Packages
Once the environment is active, use uv pip install to add your project's dependencies. For example:
uv pip install torch torchvision torchaudio --index-url https://download.pytorch.org/whl/cu128
Choose a PyTorch build that is compatible with your instance's CUDA version. See the PyTorch installation selector for the appropriate command.
Use the Environment in JupyterLab
Install and register an IPython kernel while the environment is active:
uv pip install ipykernel
python -m ipykernel install --user --name=myenv --display-name "Python 3.12 (myenv)"
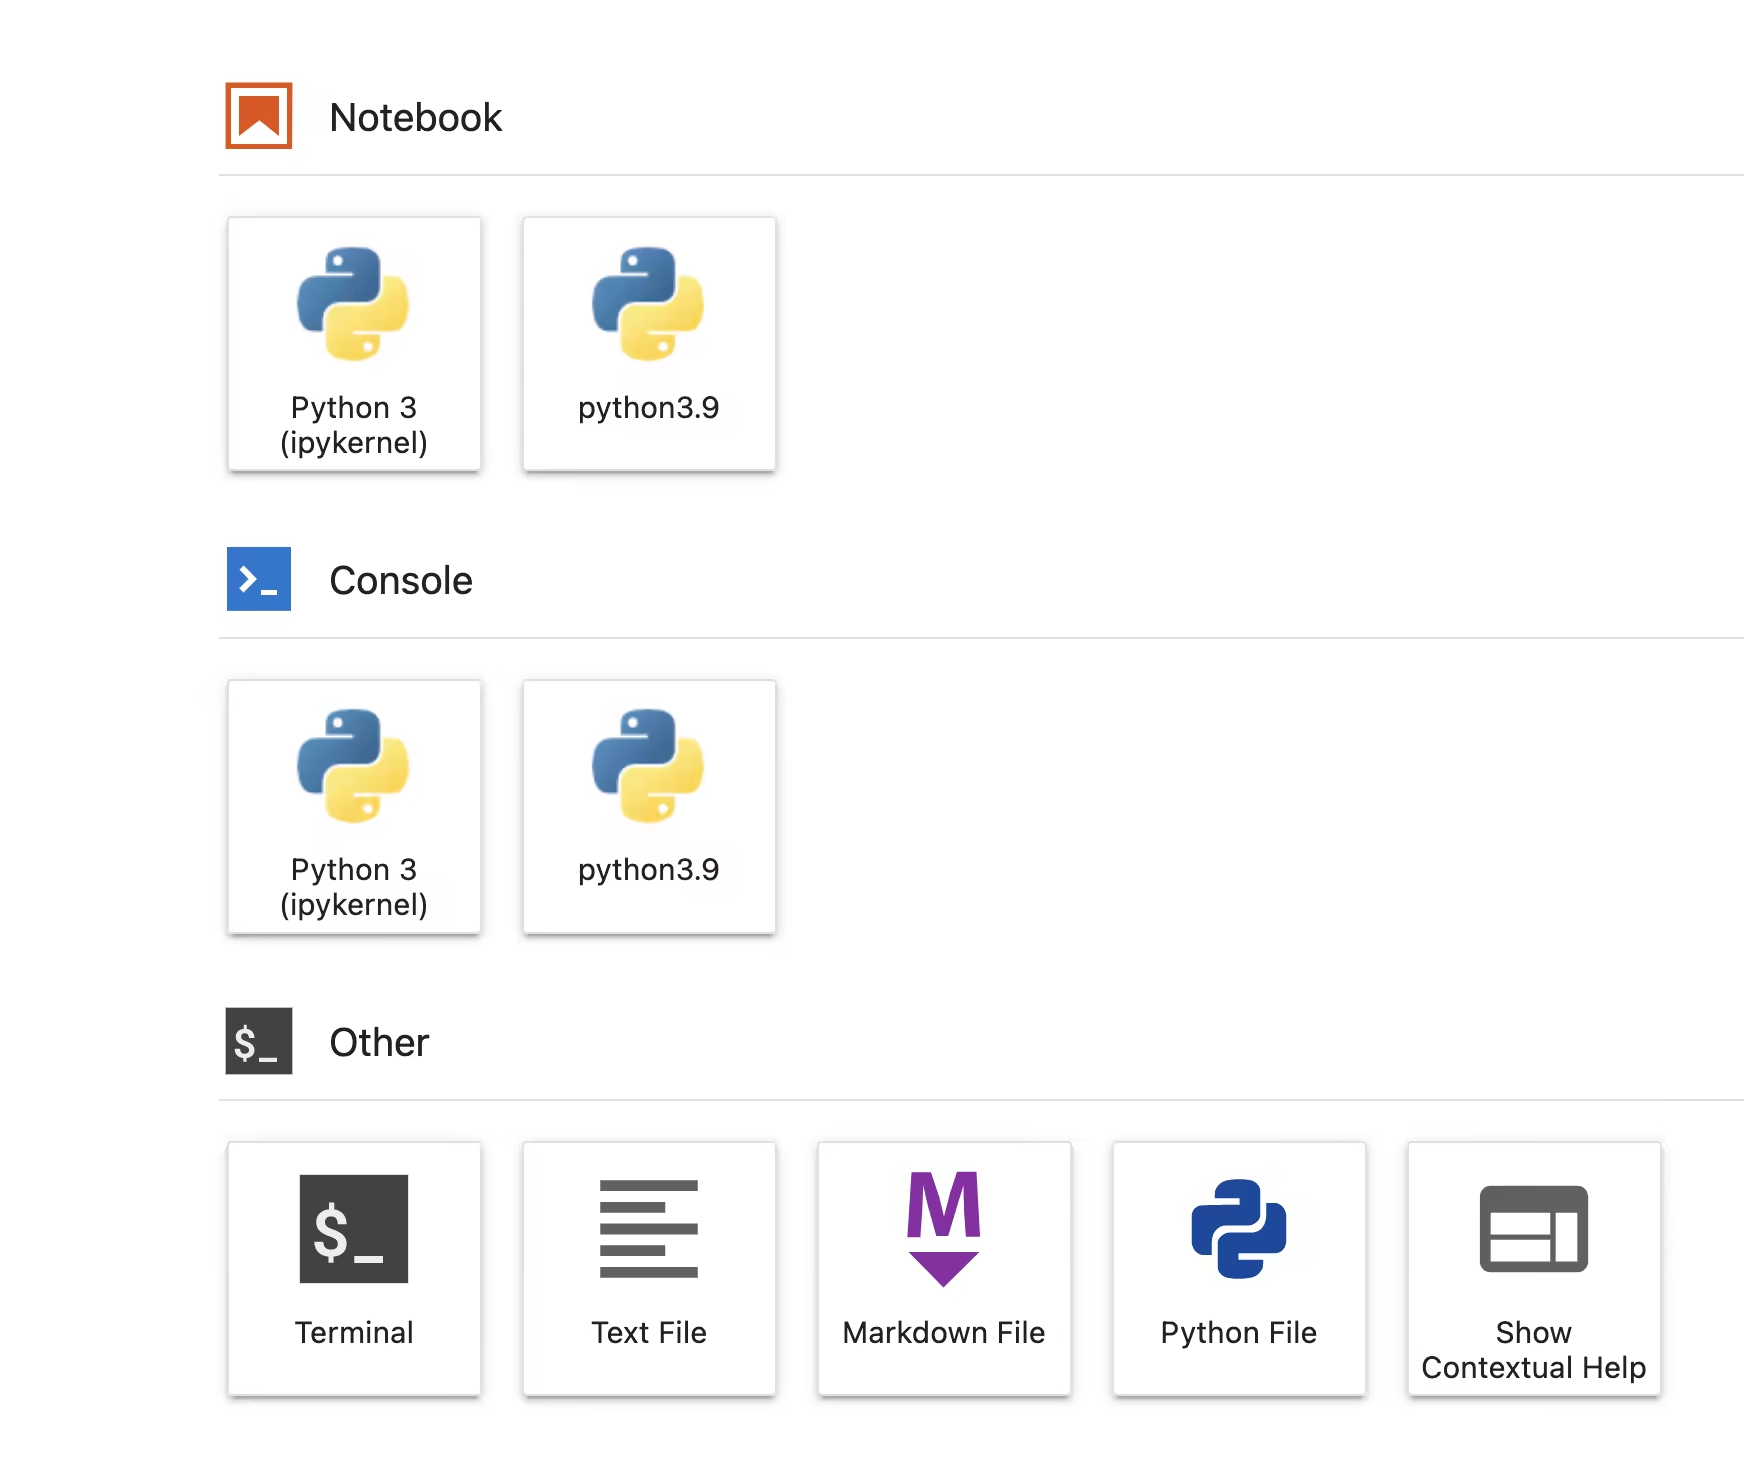
Refresh JupyterLab, click the + button to create a notebook, and select Python 3.12 (myenv) from the kernel list. The notebook will now use the packages installed in /home/myenv.
Creating and Managing a New Environment Using Conda
Create a New Environment
To create a new environment with Python 3.10, use the following command:
conda create --prefix </path/yourEnvName> <python-version>
Example:
conda create --prefix /home/myenv python=3.10 ipykernel -y
The --prefix option allows you to specify the installation path. Installations in the /home directory persist when you pause and resume an instance.
Note: If you do not use the --prefix option, the environment is installed in the /root location, which resets when you pause and resume an instance.
Activate the New Conda Environment
To install new libraries in the environment, activate it using:
conda activate /home/myenv/
If you encounter errors while activating, try the following commands in a terminal:
conda init bash
source .bashrc
Start a New Kernel from JupyterLab
To use the new environment in JupyterLab, set up the kernel:
conda activate /home/myenv/
python -m ipykernel install --user --name=myenv
After refreshing JupyterLab, you can create a notebook with the new conda environment.
Creating a New Environment Using Venv
If you prefer Python's built-in venv, create the environment under /home with the existing Python version:
python -m venv /home/myenv
To use a different Python version:
python3.12 -m venv /home/myenv
Ensure Python 3.12 is installed on your system.
Activate the environment you just created:
source /home/myenv/bin/activate